


Fredrick Taylor
Freeport, IL

Norman Weaver
Syracuse, NY

Mary Stephen
Walpole, MA
From elegant wooden décor to unique handmade creations, MR Handicrafts offers premium quality products that bring beauty, tradition, and style into your everyday life.
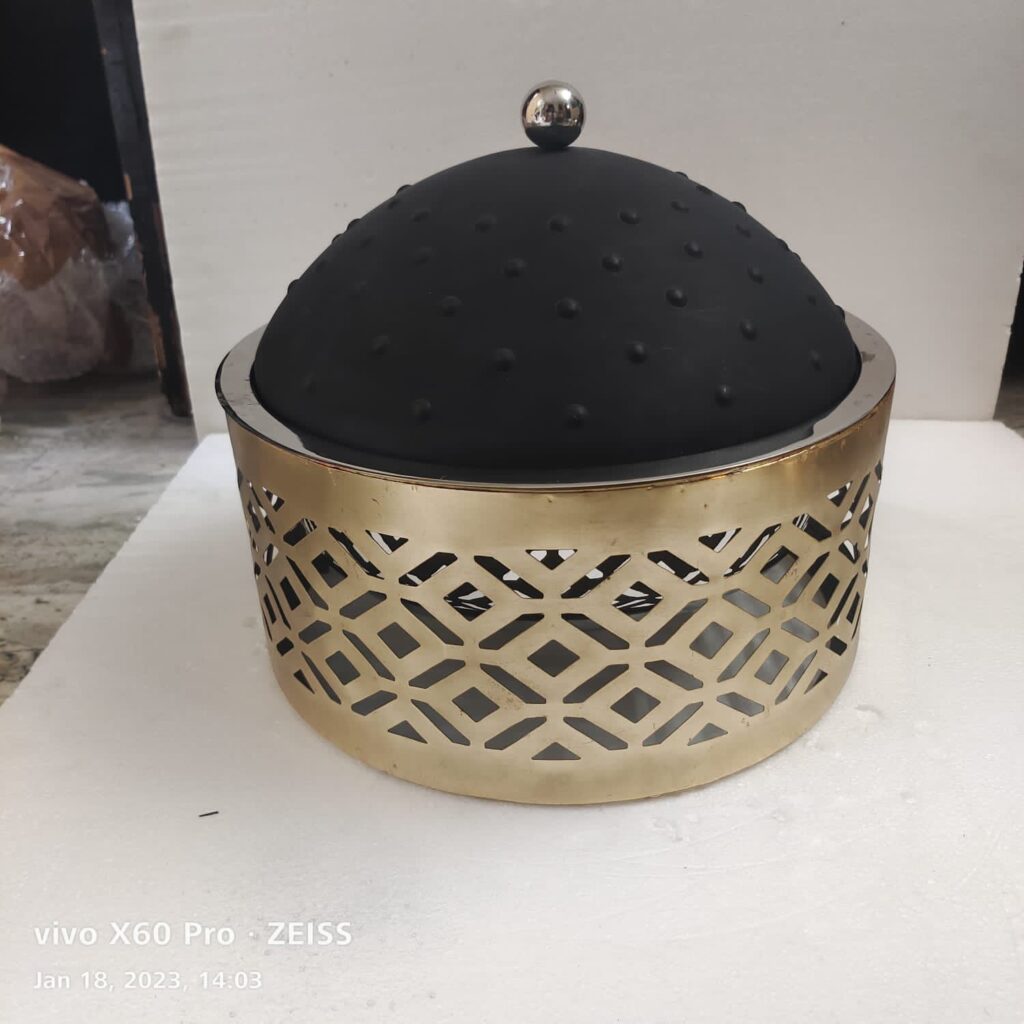
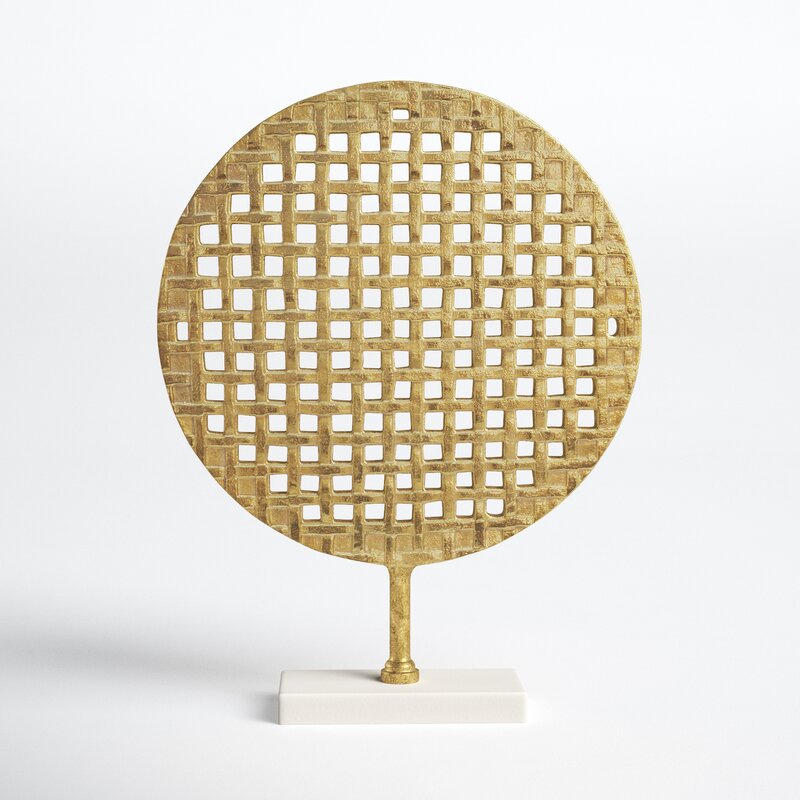
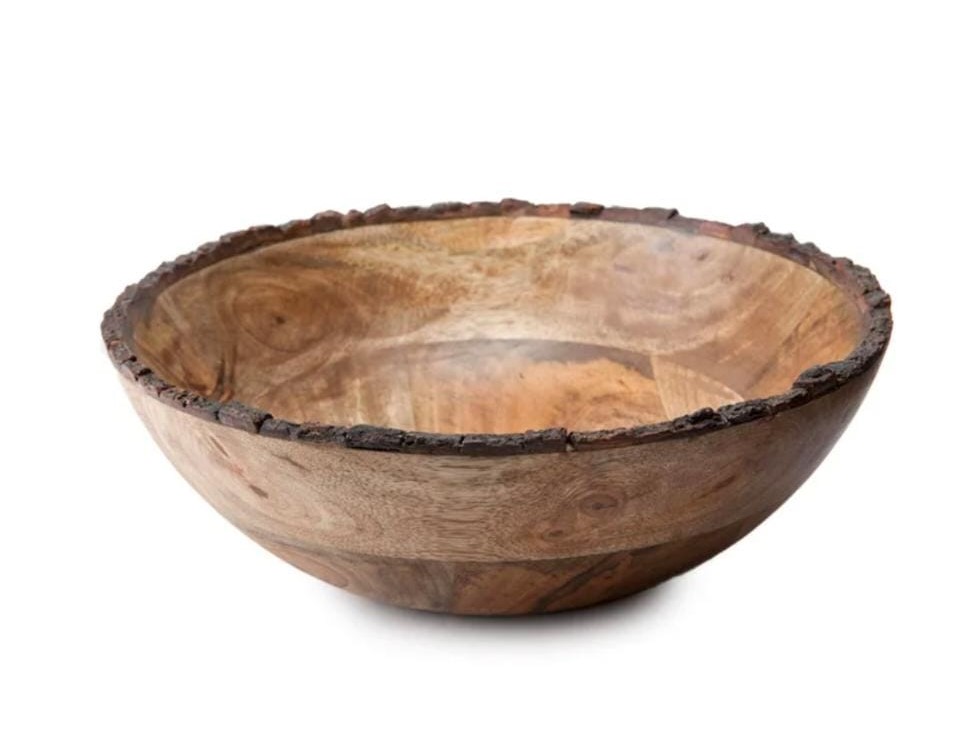
Discover our most popular handcrafted products, made with high-quality materials and traditional techniques to bring beauty and uniqueness to your space.


At MR Handicrafts, we bring you beautifully crafted handmade items made by experienced artisans. Each product reflects traditional craftsmanship with a modern touch
At MR Handicrafts, our mission is to preserve traditional craftsmanship while bringing it into modern homes. We are committed to creating high-quality handmade products that reflect artistry, durability, and uniqueness. Our goal is to support skilled artisans and deliver beautifully crafted items that enhance your lifestyle.
Our team has years of experience in creating high-quality wooden and handmade products. We ensure every piece is carefully designed and crafted.
Our handcrafted products are carefully made by skilled artisans using high-quality wood and materials. Each item is designed to offer durability, elegance, and a unique touch, making it perfect for everyday use, home décor, and gifting purposes.
Each product is handcrafted with strong durability and fine finish.
Every item features a stylish and unique design for home décor.
High-quality handicrafts at budget-friendly prices.
Lorem ipsum dolor sit amet, consectetur adipiscing elit. Ut elit tellus, luctus nec ullamcorper.
Lorem ipsum dolor sit amet, consectetur adipiscing elit. Ut elit tellus, luctus nec ullamcorper.
Lorem ipsum dolor sit amet, consectetur adipiscing elit. Ut elit tellus, luctus nec ullamcorper.
Lorem ipsum dolor sit amet, consectetur adipiscing elit. Ut elit tellus, luctus nec ullamcorper mattis, pulvinar.
Lorem ipsum dolor sit amet, consectetur adipiscing elit, sed do eiusmod tempor incididunt ut labore et dolore magna aliqua.
Freeport, IL
Lorem ipsum dolor sit amet, consectetur adipiscing elit, sed do eiusmod tempor incididunt ut labore et dolore magna aliqua.
Syracuse, NY
Lorem ipsum dolor sit amet, consectetur adipiscing elit, sed do eiusmod tempor incididunt ut labore et dolore magna aliqua.
Walpole, MA
Lorem ipsum dolor sit amet, consectetur adipiscing elit. Ut elit tellus, luctus nec ullamcorper mattis, pulvinar dapibus leo.